Congratulations to all the engaged couples out there!
Being engaged was such a blissful time in my life! I will never forget coming home from our trip where we got engaged (read the story here!) and simply being so excited to start referring to Jeremy as my fiancé! Though I had an entire Pinterest board already planned with what our wedding was going to be like, I took a few months before I really dove into the wedding planning process to enjoy the high of being engaged to my best friend. By a few months, I mean less than two before I had my first appointment with my wedding planner where we sat for hours talking about my wedding day and literally planned everything.

This process definitely can be daunting. I planned my wedding a year and nine months from the time I was engaged so it felt like I had all the time in the world, but when three months starts creeping around the corner it can get stressful. Although I knew I had absolutely everything in order, it never felt that way through the process. I truly believe that wedding planning can go either way, completely dependent on your personality. Some brides have the time of their life planning, others completely dread it. I was somewhere in between having an absolute ball and panicking about every decision I made! Bottom line, you are planning a day that you get to day “I do” to the one you love! That is the most important piece of advice I have to give. Never forget the final goal through this whole process.


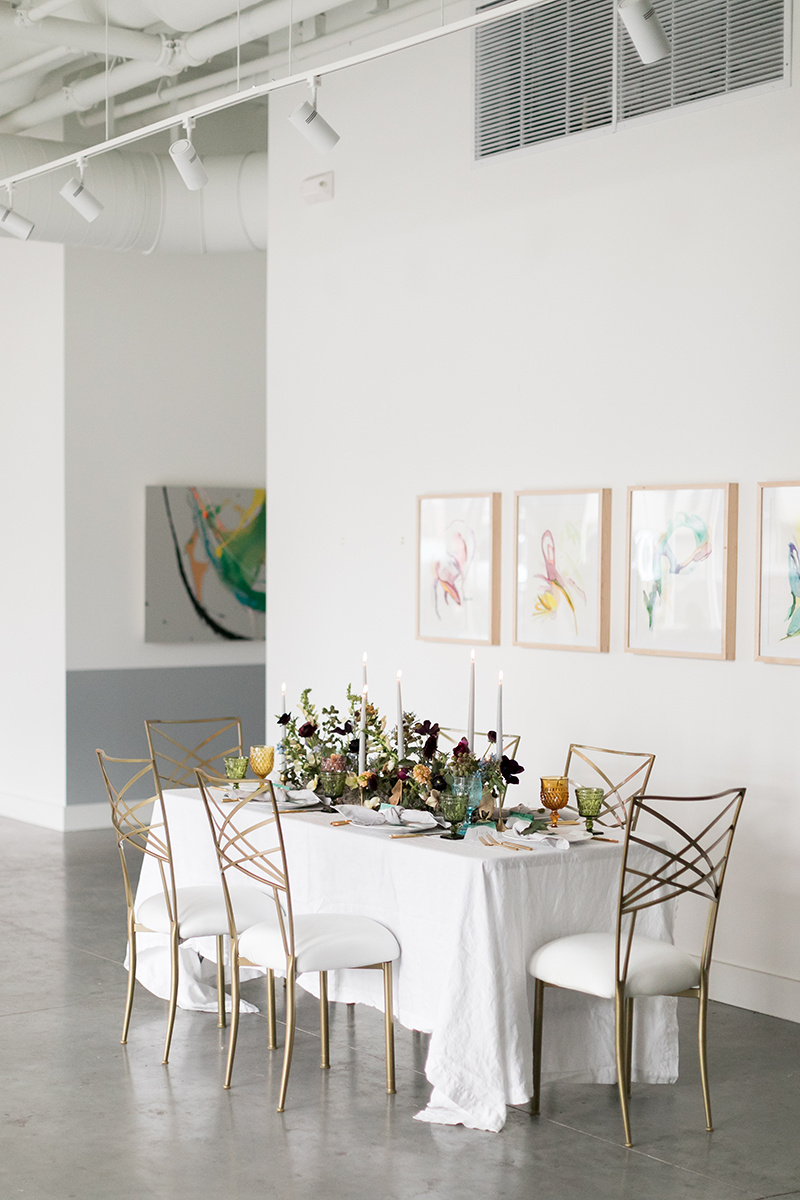
One “fun” thing you start to learn when planning, is how much things really add up. Looking back, there were definitely places I realize I could have saved on and others I could have spent more on. Bottom line, it’s up to you to keep track and focus on what is really important to you and worth spending more on in some areas rather than others. For instance, flowers for me were the most important, so majority of my budget went to that. Decor and florals are definitely the most expensive area in wedding planning depending on how over the top you want to go. One easy area to save on is paper products! You can easily DIY your wedding menus and pace cards and make them just as beautiful as hiring someone to do them!
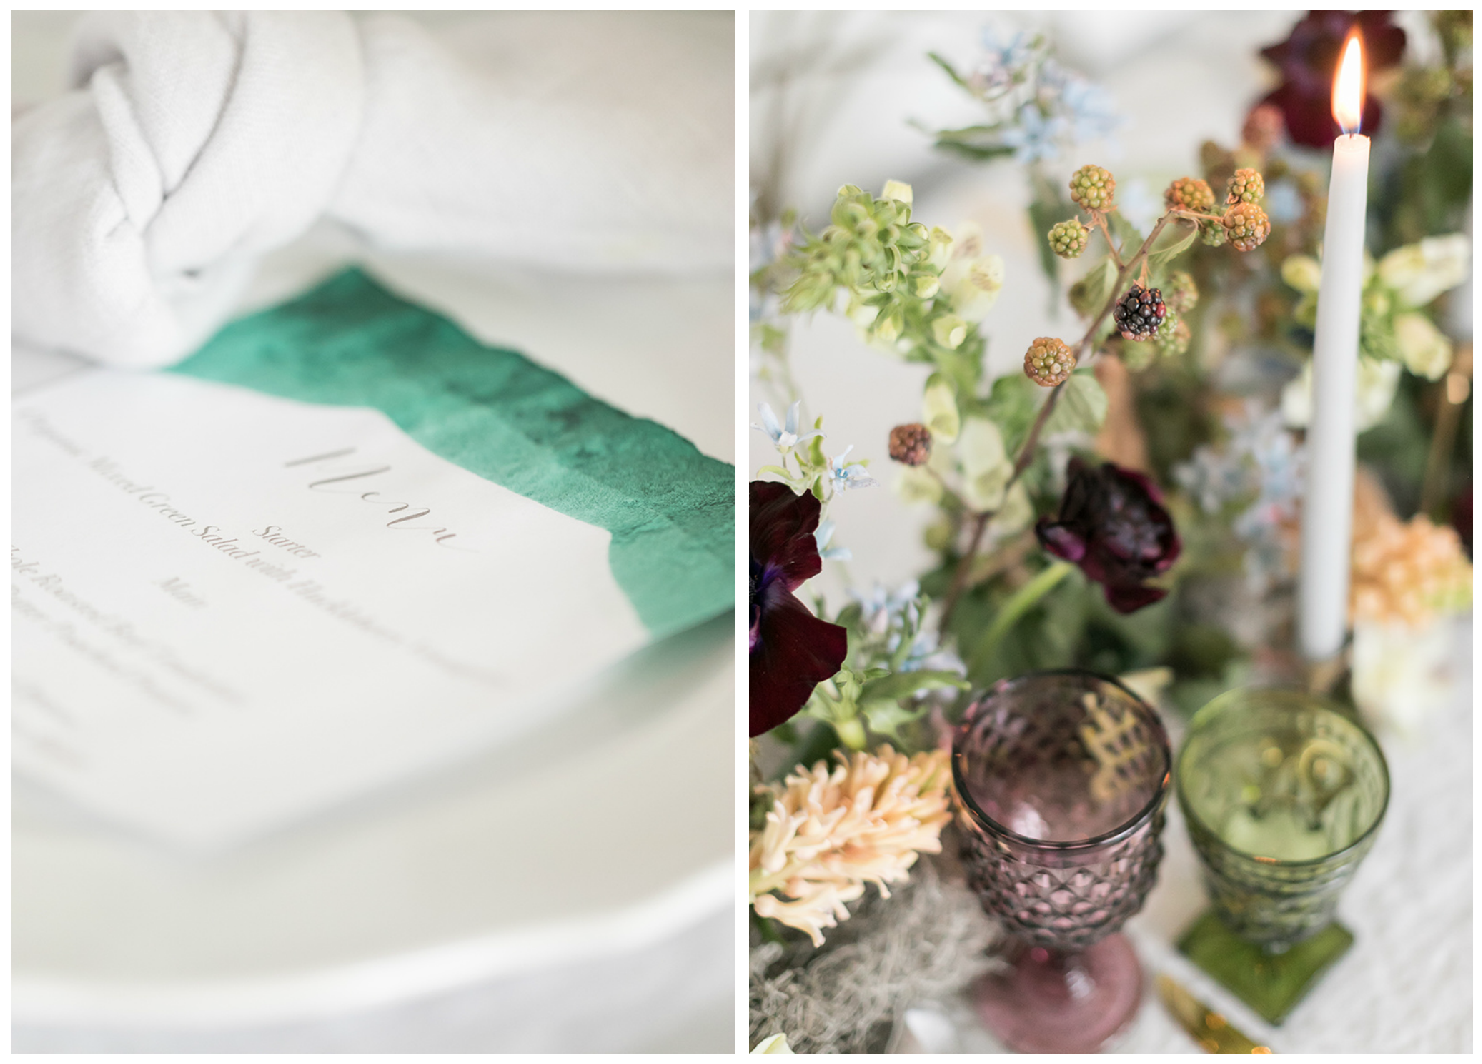
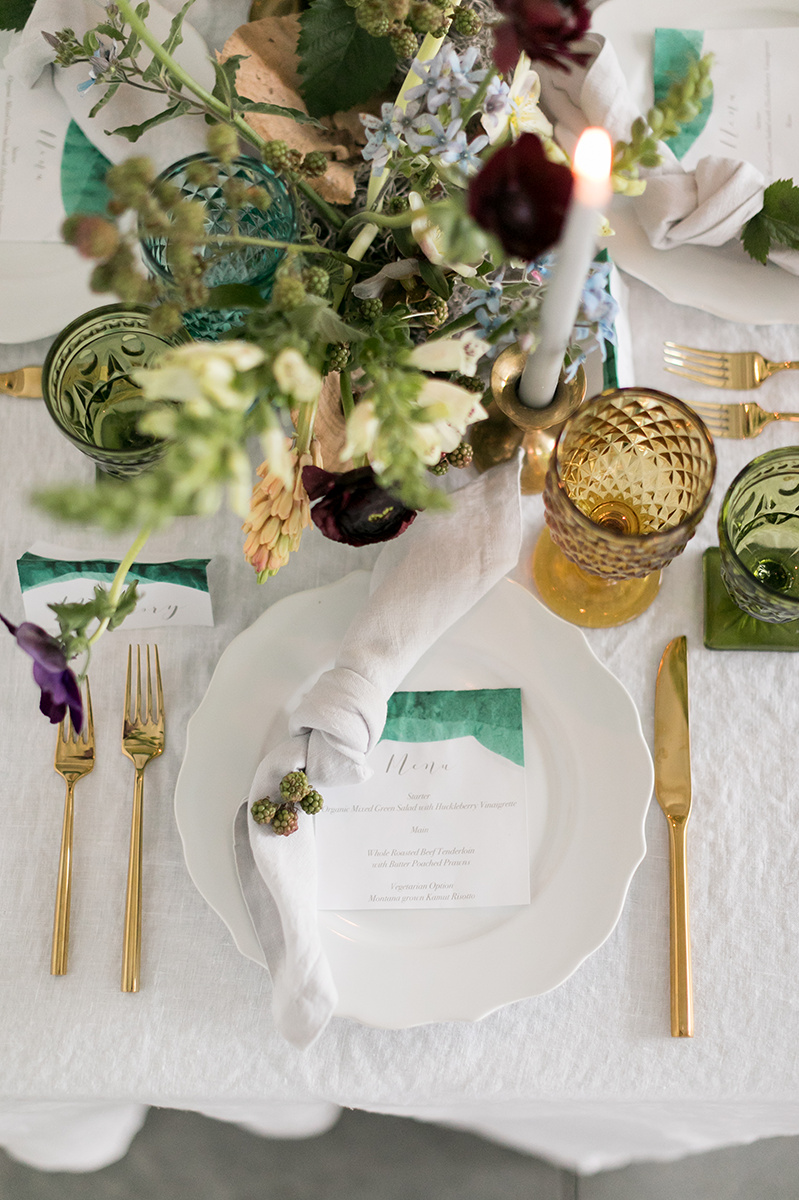
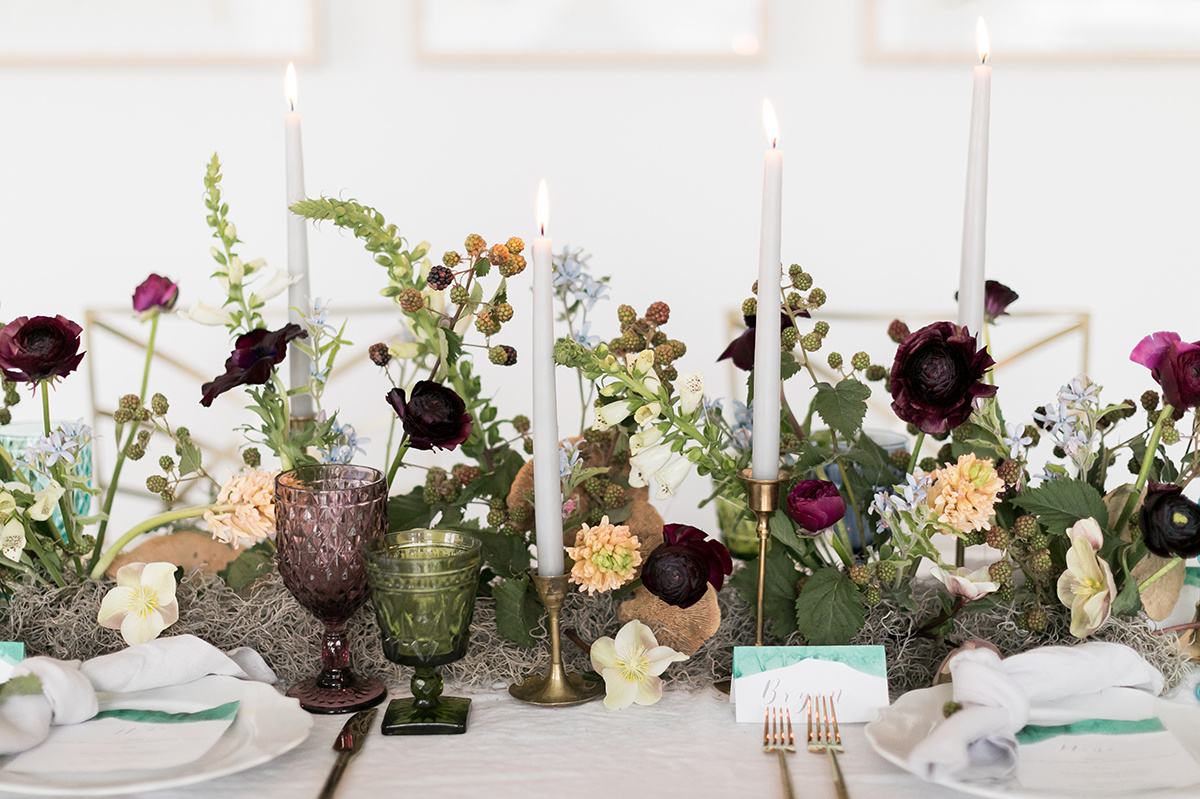
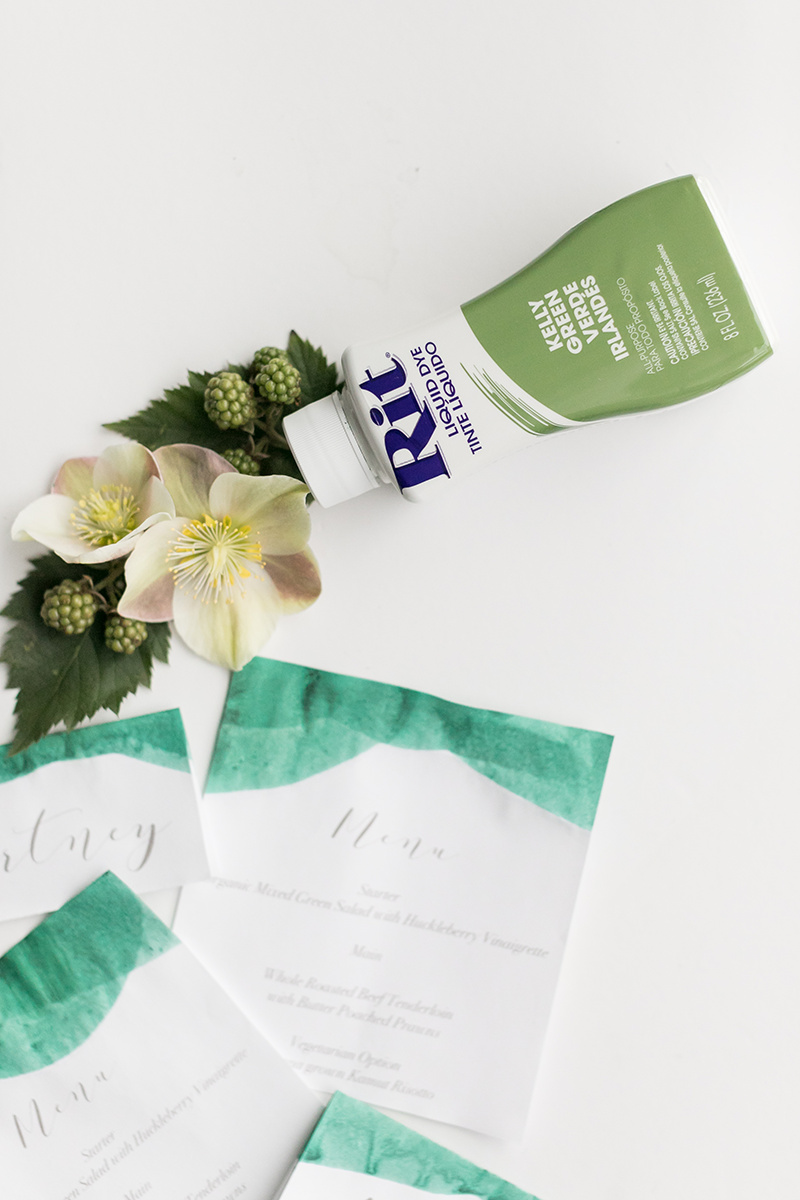
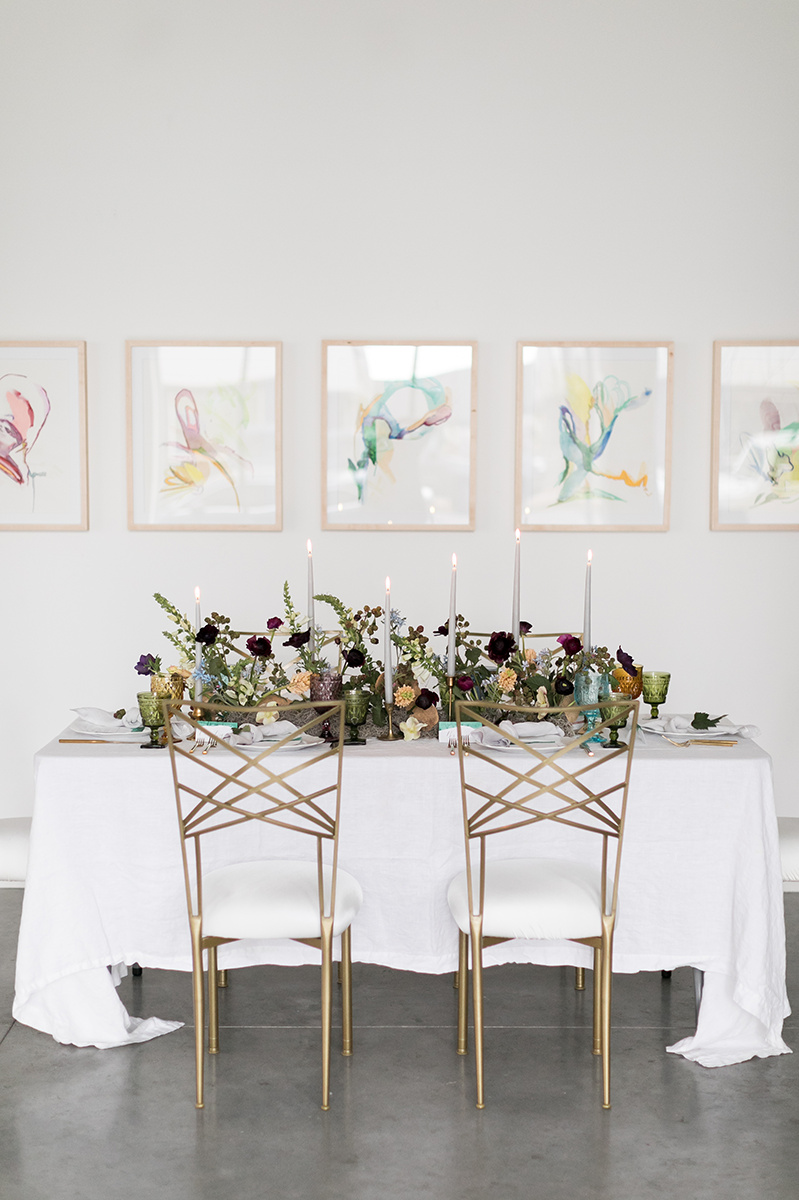
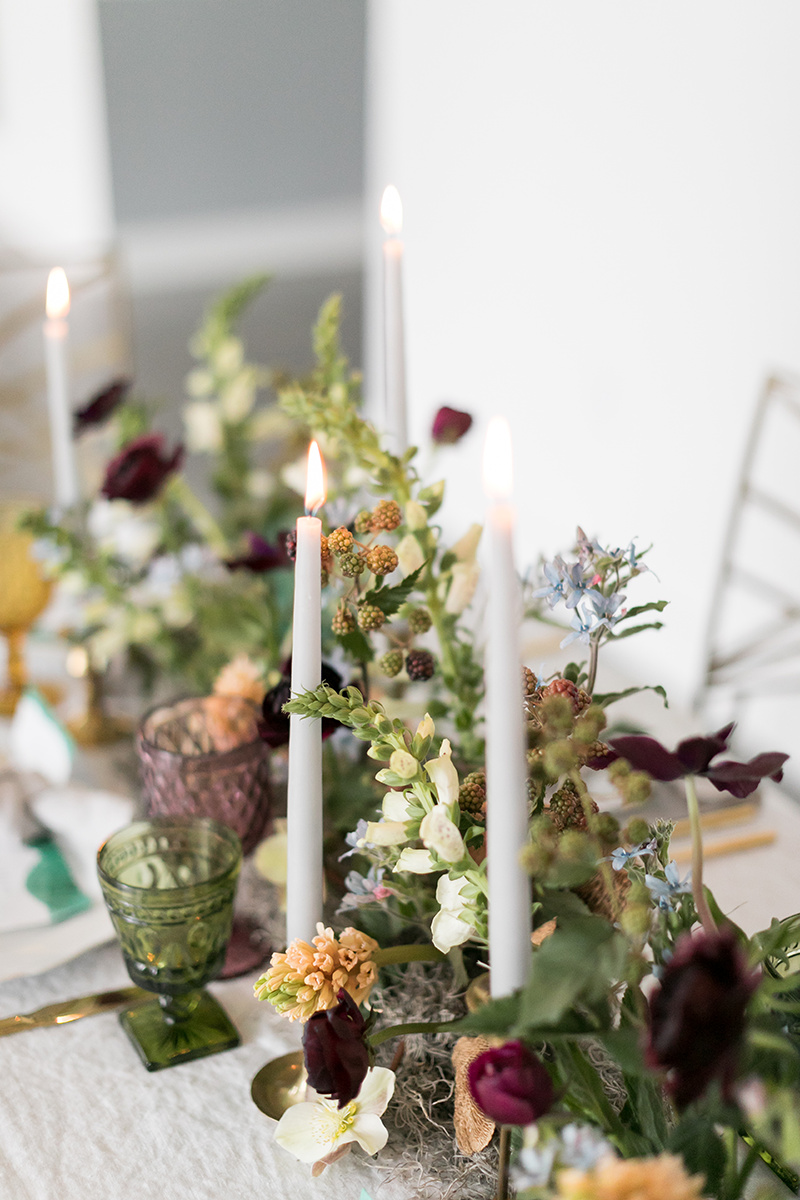
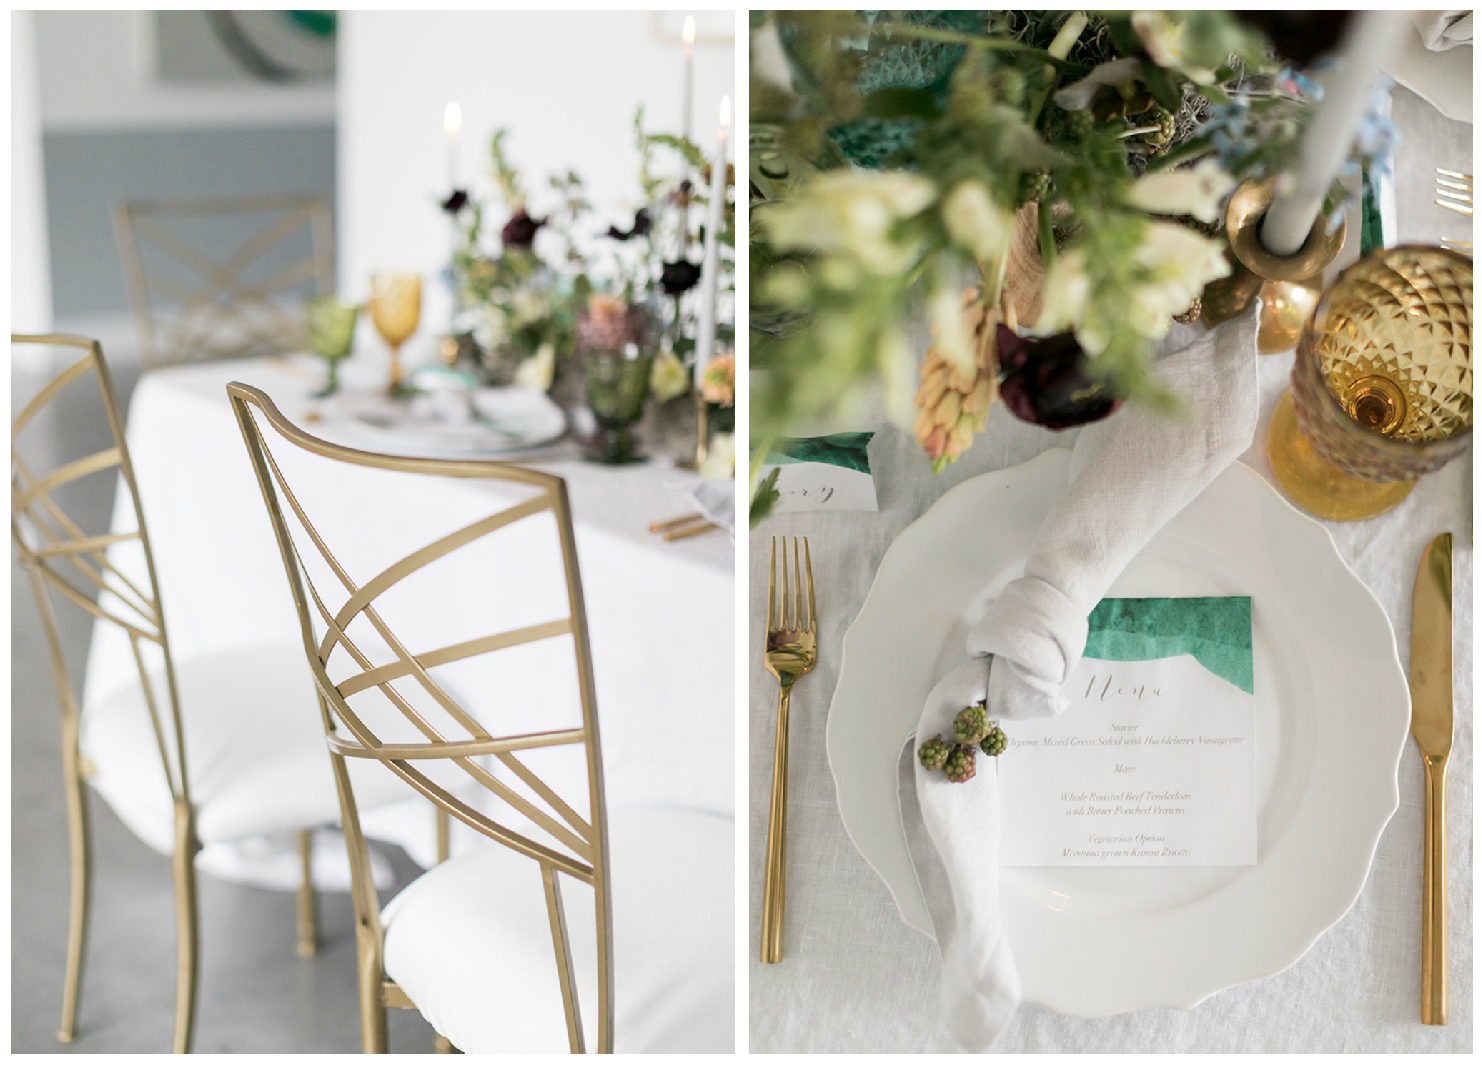
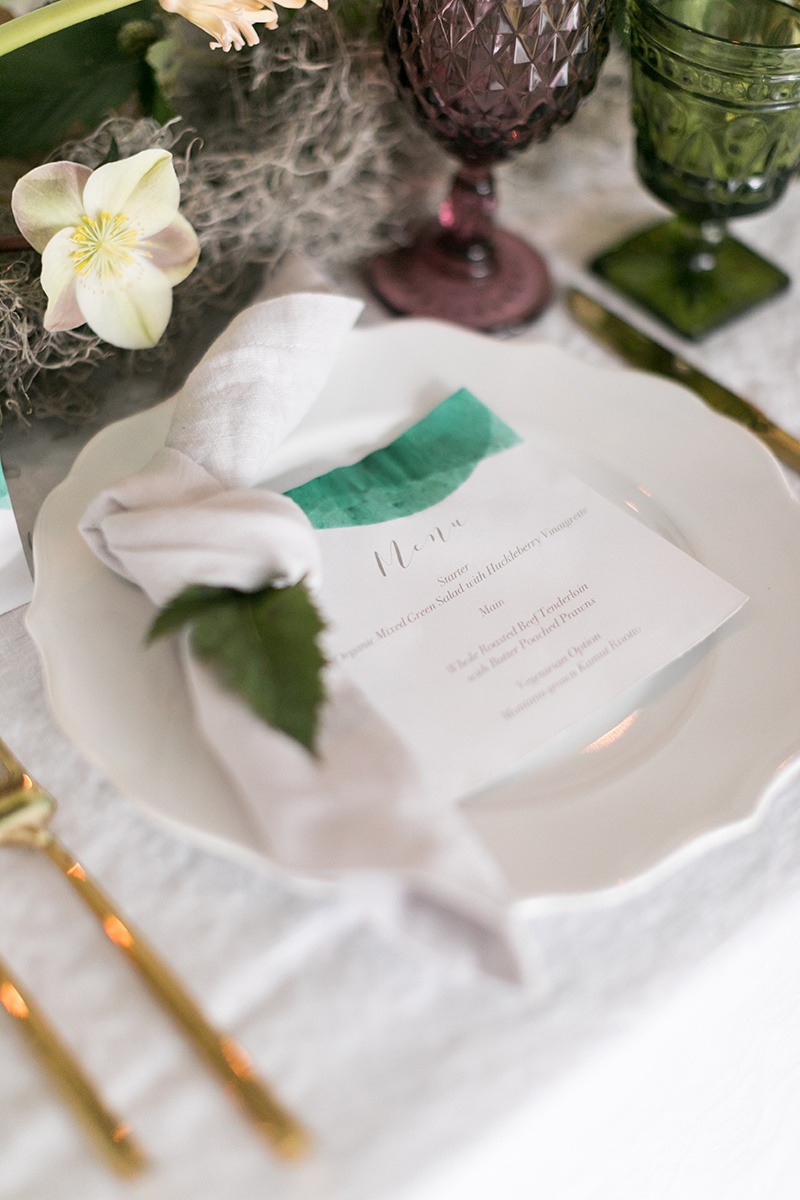
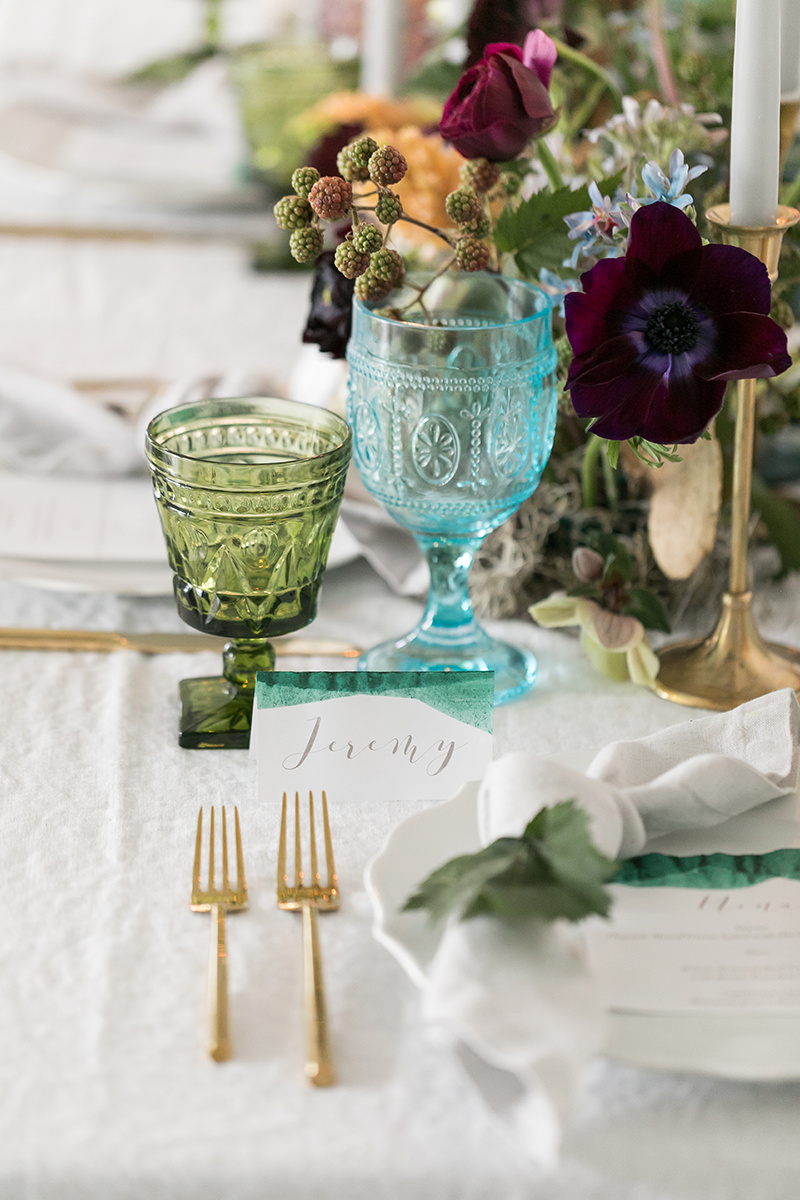
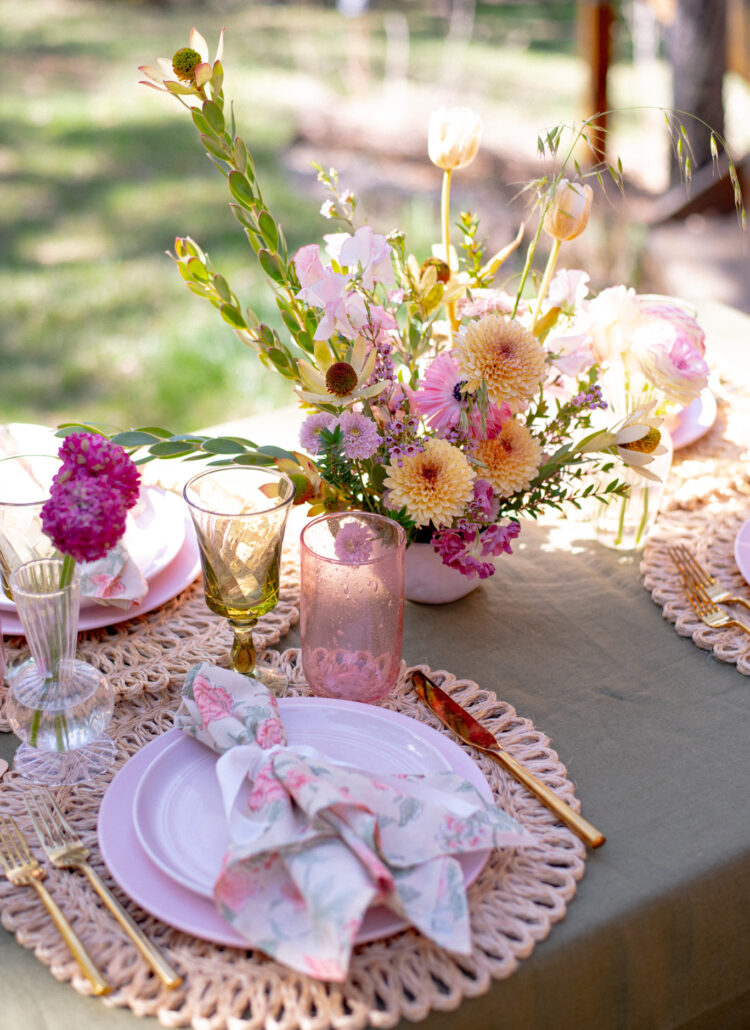
These featured menus and place cards were made by yours truly (me!) with a little Ritdye! They were so simple to create and such an inexpensive project for brides to save on so more of your budget can go to other aspects of your wedding day. I love how simple the menus are on the table with just a pop of color to bring out the greenery in the centerpiece and green glassware. You can easily dip-dye using any color, or a mix of a few together. It’s a great way to incorporate your wedding colors into your place settings!
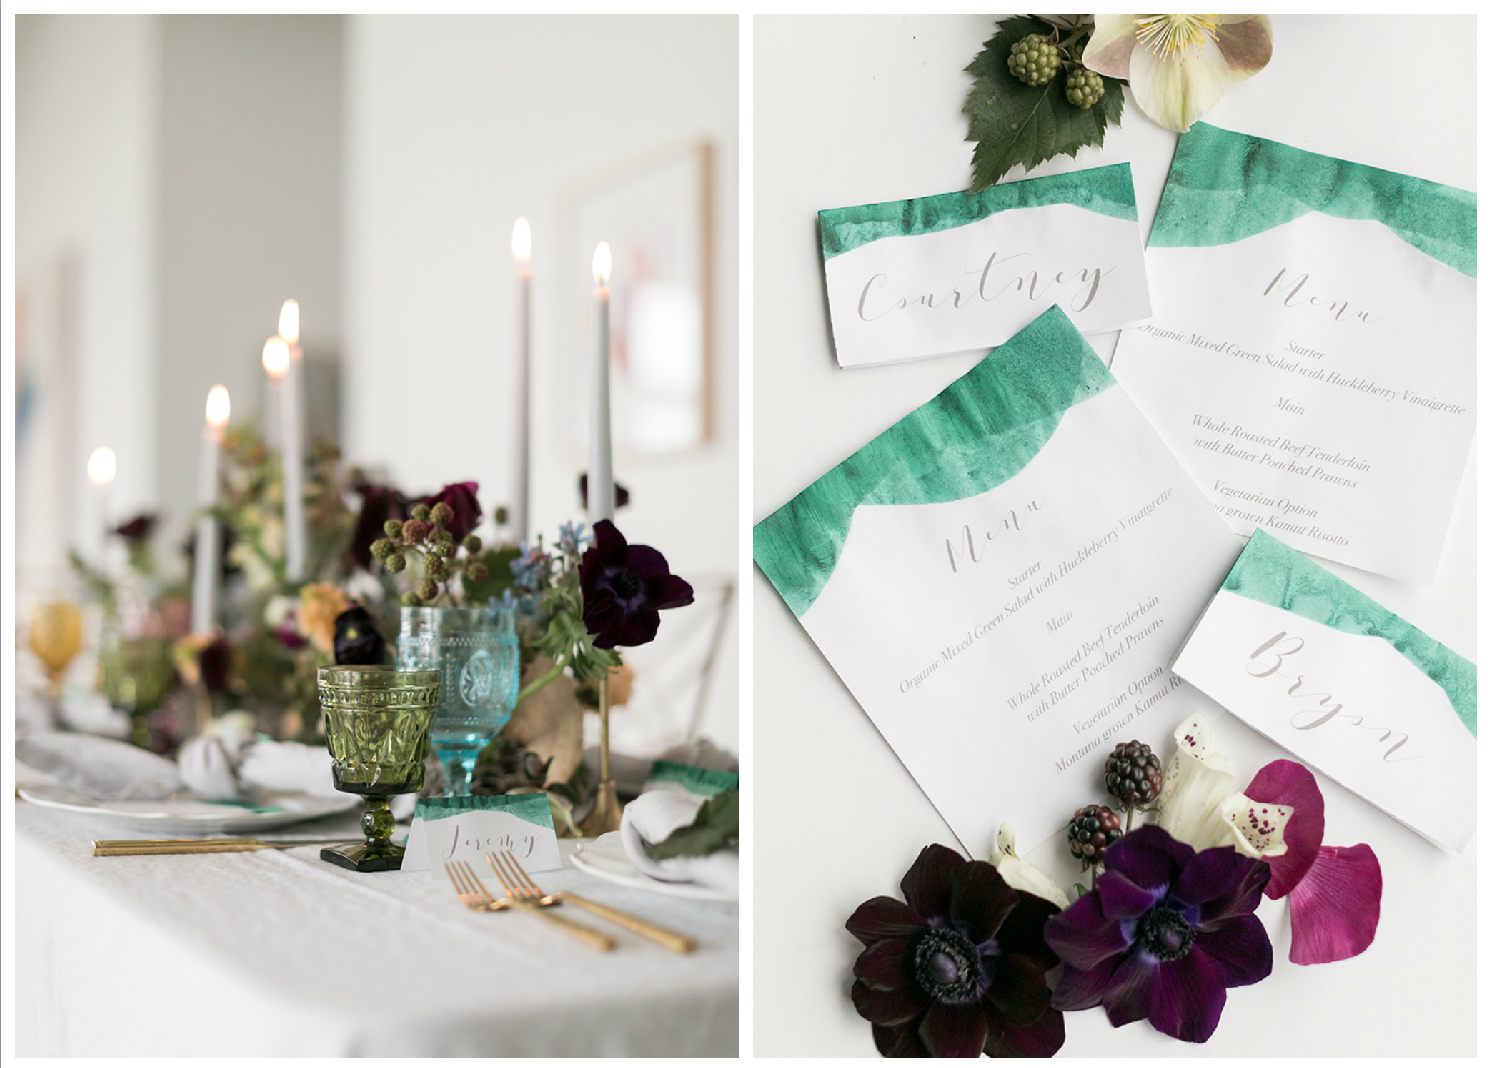


How to make DIY Wedding Menus and Place Cards
Supplies:
- Plastic Table Cover
- 1 cup warm water (Rit is a hot water dye and the warm water helps with dye absorption)
- Rit All-Purpose Liquid or Powder Dye
- Latex Gloves (keeps dye off of fingers)
- Paper products (for these, I simply just printed them at home!)
- a plastic dish as wide as the paper
- Paper towels
Directions:
- Cover work surface with plastic. Then cover with paper towels to make a drying area.
- Fill dish with 1 cup warm water. Shake dye bottle before pouring. Then start by adding 1 tablespoon. Test dye color with scrap paper to get the desired color. For darker shades, add more dye; for lighter shades, add more water.
- Simply dip which ever end of your choosing into the dye solution, pushing some ends in further than others to create a sort of wave. Lay flat to dry. If you want some areas to look darker than others and have an ombre look, wait until the first round of dye is dried, then dip partial areas of the already dyed surface into the solution again!
Note: When it comes to your paper products, whether you are printing them yourself or having a calligrapher or printer do the wording, make sure there is ample room at the top or the bottom for the dye so it doesn’t cover up your wording. You can also dye the paper then send to a calligrapher to write on! If your ink is dark enough and your dye is light, it also would look pretty if they overlapped! Have fun with it!


This is a sponsored conversation written by me on behalf of Rit Dye. The opinions and text are all mine.
Photos | Amy Caroline Photography
Flowers | Plum Sage Flowers
Table Top Rentals | Hunt and Gather Rentals
Chairs | Charming Chairs
Venue | ATC DEN

What a beautiful place setting! Great idea for the place cards and menus!! I can’t wait to use this!